PLANNING BASICS
Cash, ATMs, SIM/eSIM & Wi‑Fi in Kyoto
Cash, ATMs, SIM/eSIM & Wi‑Fi in Kyoto
TL;DR
- Cards work at most hotels and larger shops, but cash is still essential in Kyoto.
- Carry ¥10,000–¥20,000 as a buffer; withdraw from 7-Eleven, Japan Post, or FamilyMart ATMs.
- Buy an eSIM before you fly — it is the fastest and cheapest way to get data in Japan.
Cards vs. Cash: What You Actually Need
Japan’s reputation as a cash-heavy country is slowly changing, but Kyoto still has plenty of places where cash is the only option. Here is the practical breakdown.
Which cards work:
- Visa and Mastercard are accepted at the vast majority of hotels, department stores, convenience stores, and chain restaurants. You can pay with these at most places tourists visit.
- American Express is accepted at a decent number of upscale restaurants, major department stores (Isetan, Takashimaya), and some tour operators — but not universally.
- Discover is rarely accepted. Do not rely on it as your primary card.
Where cash is still king:
- Small shrine and temple entry fees (many collect cash only at the gate)
- Local neighborhood restaurants and ramen shops
- Nishiki Market stalls and street food vendors
- Some traditional ryokan or guesthouses require full payment in cash on checkout
- Taxis — though larger fleets are increasingly card-friendly via in-car terminals
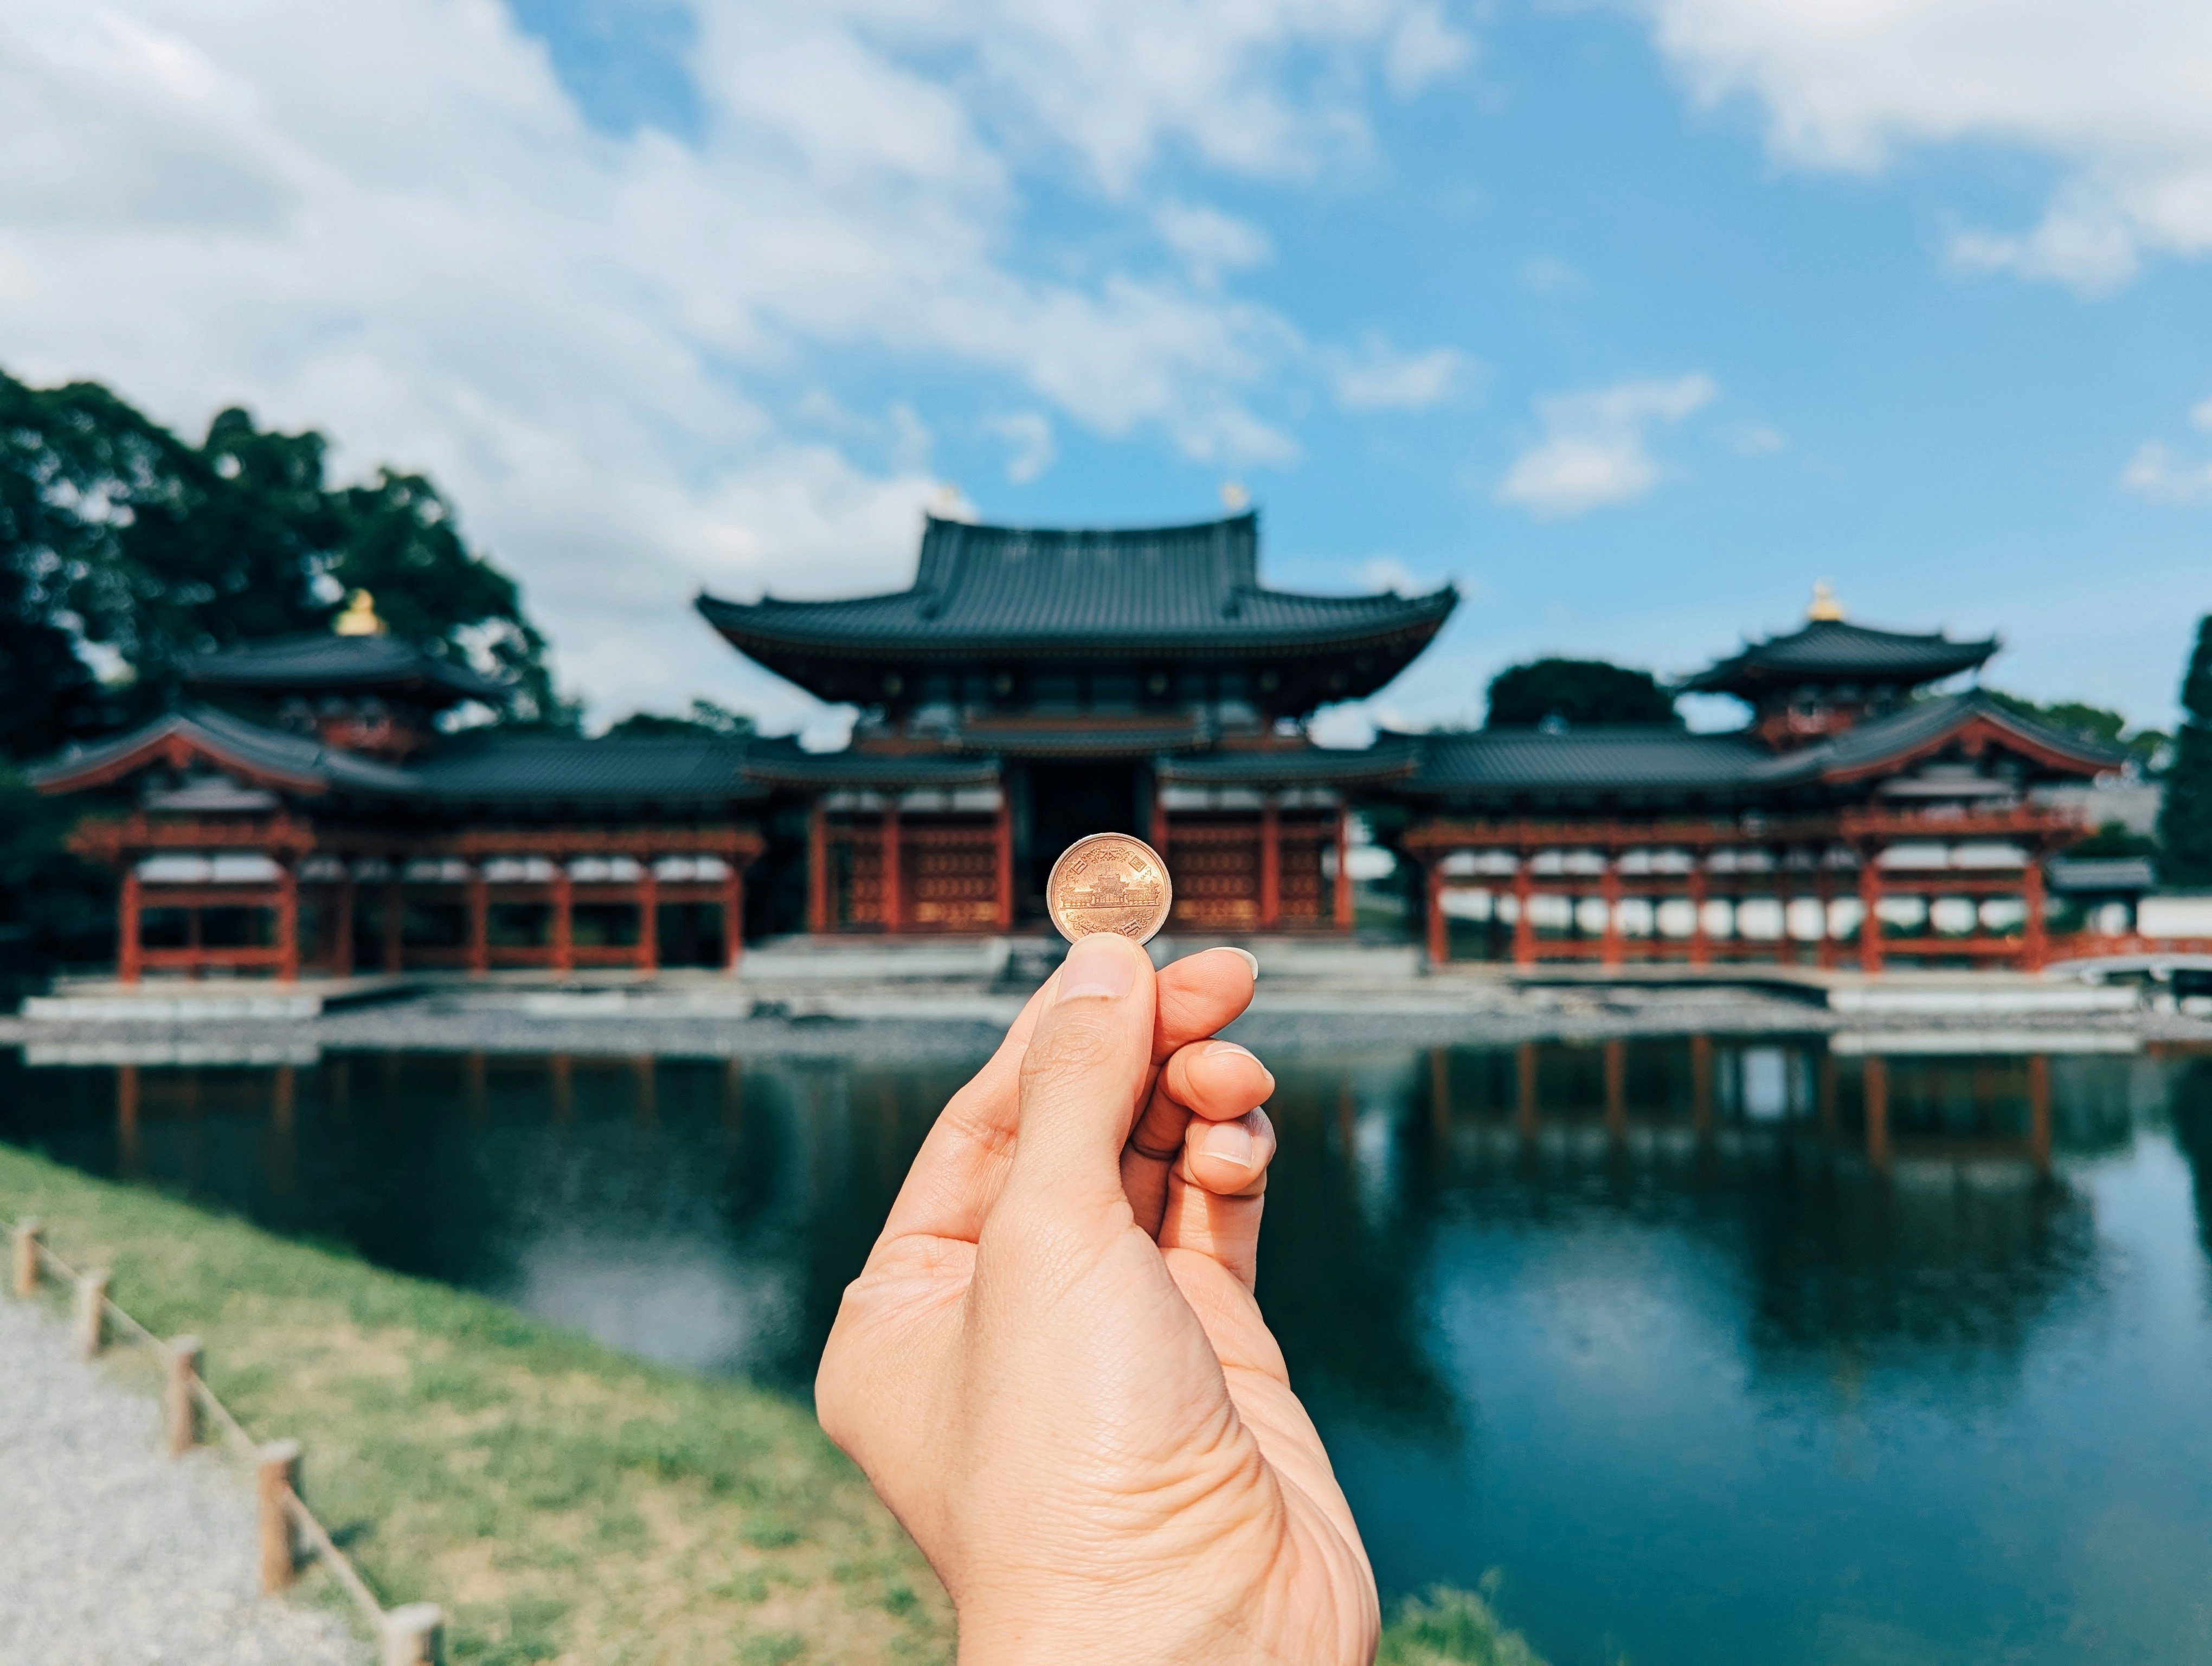
Many smaller temples and shrines charge entry fees of ¥300–¥600 and accept cash only. On a temple-heavy day you can easily visit five or six sites — budget accordingly and withdraw before you head out into the neighborhoods, not after.
How much cash to carry:
Keep ¥10,000–¥20,000 (roughly $65–$130 USD) available at all times as a buffer. This covers a temple day, a couple of meals, and any surprise cash-only situations. You do not need to carry large sums since reliable ATMs are easy to find.
 CASH TIP
 ATMs: Where to Find Ones That Actually Work
Standard Japanese bank ATMs (regional banks, Mizuho, SMBC, etc.) commonly reject foreign-issued cards. Do not waste time at those. Use these instead:
7-Eleven ATMs (most reliable) The 7-Eleven bank ATM network accepts virtually all Visa, Mastercard, Maestro, and Plus-network cards. They are open 24 hours, have a full English interface, and are everywhere in Kyoto — inside every 7-Eleven convenience store. This is your default option.
Japan Post (JP Bank) ATMs Available at post offices and some convenience locations. Very reliable for foreign cards, usually open until 9pm on weekdays and shorter hours on weekends. Look for the red and white JP logo.
FamilyMart (E-net ATMs) These work well for Visa and Mastercard. FamilyMart stores are plentiful throughout the city and open 24 hours.
AEON Mall / AEON Bank ATMs If you are near an AEON shopping center (there is one near Kyoto Station), their ATMs have strong foreign-card support and sometimes lower fees than convenience store networks.
Expect ¥110–¥220 per withdrawal on the Japanese side, plus whatever your home bank charges for international transactions. Withdraw slightly larger amounts to reduce the per-transaction cost — withdrawing ¥20,000 at once is more efficient than two withdrawals of ¥10,000.
 ATM
ATM Mobile Data: eSIM (Recommended)
An eSIM is a digital SIM you download to your phone before you leave home. It is the easiest and most cost-effective data solution for solo travelers and couples.
Popular eSIM providers for Japan:
- Airalo — widely used, easy app, Japan plans from around $5–$10 for 1 GB up to $25–$30 for 20 GB over 30 days
- IIJ (IIJmio) — Japanese carrier, reliable coverage, data-only eSIM available online
- Docomo eSIM — Japan’s largest carrier, excellent nationwide coverage, available directly from their website
You need a Wi-Fi connection to activate an eSIM plan. Do it at home or at the departure airport — not after landing in Japan when you have no data yet. Purchase, scan the QR code, and confirm it activates before you leave.
How to set it up:
- Purchase the eSIM plan online before you depart (you need a Wi-Fi connection to activate it).
- Scan the QR code in your phone’s eSIM settings (Settings > Cellular > Add eSIM on iPhone; varies by Android model).
- Label it “Japan Data” to keep it distinct from your home SIM.
- At the airport or on landing, switch your data to the eSIM. Your home SIM stays active for calls and texts if you need them.
iPhone carrier lock check: If your iPhone was purchased through a carrier plan and is not fully paid off, it may be locked to that carrier and unable to use an eSIM from a different provider. Check this at Settings > General > About > Carrier Lock before your trip.
Dual-SIM setup: Most recent iPhones (iPhone XS and later) and many Android phones support dual SIM (one physical + one eSIM). This lets you keep your home number active for SMS verification codes while using the Japan eSIM for data.
Physical SIM Cards
If you prefer a physical SIM or your phone does not support eSIM, physical data SIMs are easy to obtain.
Airport kiosks: Available at Kansai International (KIX), Osaka Itami (ITM), and Narita (NRT). Look for IIJ, Docomo, SoftBank, and b-mobile counters in the arrivals hall. These are often the most convenient option since you can insert the SIM before you leave the airport.
Electronics stores in Kyoto/Osaka: Yodobashi Camera (near Kyoto Station) and BIC Camera carry a range of prepaid data SIMs. Staff can walk you through setup.
Typical cost: ¥2,000–¥4,000 for a 10–30 day data-only SIM with 15–50 GB of data. Voice SIMs are rare on tourist plans — these are data-only.
At Kansai International, the SIM card kiosks closest to the immigration exit are often overpriced tourist-trap setups. Walk a little further into the arrivals hall to find the IIJ and b-mobile counters, which offer much better per-GB rates on the same carrier networks.
Pocket Wi-Fi
A pocket Wi-Fi router creates a personal hotspot that multiple devices can connect to simultaneously. It is worth considering if you are traveling in a group of three or more people all needing data.
Where to rent: Airport rental counters (Ninja WiFi, Global Advanced Communications, Wi-Ho) or book online in advance for cheaper rates. Some hotels also offer them at the front desk.
Logistics to plan: Confirm the pickup point (airport counter vs. mail delivery to your hotel) and the return method (drop box at airport, or pre-paid return envelope). Missing the return can incur penalty fees.
Battery life: Most units last 6–8 hours of continuous use. Carry a power bank (see below). If your whole group needs data and one person’s device dies, everyone loses connectivity — this is the main downside compared to individual eSIMs.
Practical Tips to Save Yourself Headaches
Carry a power bank. Navigating with Google Maps, using mobile IC card payment (Suica on your phone), and running translation apps drains your battery faster than usual when traveling. A 10,000 mAh power bank covers most smartphones at least twice.
Download offline maps before you go. In Google Maps, search for Kyoto, tap the three-dot menu, and select “Download offline map.” Maps.me is a good free alternative with detailed walking paths. This is especially useful in areas with weak signal (some temple mountain paths, underground stations).
IC transit cards are separate from your data plan. Your Suica or ICOCA card (used for buses and trains) is a completely independent system from your SIM or eSIM. You load money onto it directly at station machines. See the full transport guide for details: How to Get Around Kyoto.
Café Wi-Fi is patchy. Free Wi-Fi at cafés and convenience stores exists but is often slow and requires registration. Do not rely on it as your primary connection. A SIM or eSIM is always the better choice for navigation and real-time translation.
A full day of map navigation, translation, and photo-taking can drain a modern smartphone from 100% to under 20% before dinner. Bring a 10,000 mAh power bank and charge it every night — it is the single most useful travel accessory for Kyoto.
 PRO TIP
 For a broader overview of planning your Kyoto trip, see Kyoto First-Timer Guide.
// KYOTO LOCAL EXPERIENCE
EXPLORE KYOTO
WITH A LOCAL GUIDE
Skip the crowds and see the Kyoto most visitors never find. Small-group tours led by local experts — built around genuine stories, hidden spots, and real connections with the city.
RELATED GUIDES

How to Get Around Kyoto: Bus, Subway, IC Cards
Practical transport guide for Kyoto: IC cards, buses vs. trains, taxis, sample routes, and rush‑hour avoidance for first‑timers.
Best Time to Visit Kyoto (By Month: Weather, Crowds, Events)
Month‑by‑month guide to Kyoto's weather, festivals, crowd levels, and what to pack—plus quiet windows for first‑timers.
Where to Stay in Kyoto: Best Areas for First‑Timers
Neighborhood‑by‑neighborhood guide to the best areas in Kyoto for first‑time visitors, with pros/cons, price ranges, and practical booking tips.
Local guide based in Gion, Kyoto. Leading intimate walking tours and sake experiences since 2018. Passionate about connecting travelers with authentic Kyoto culture.